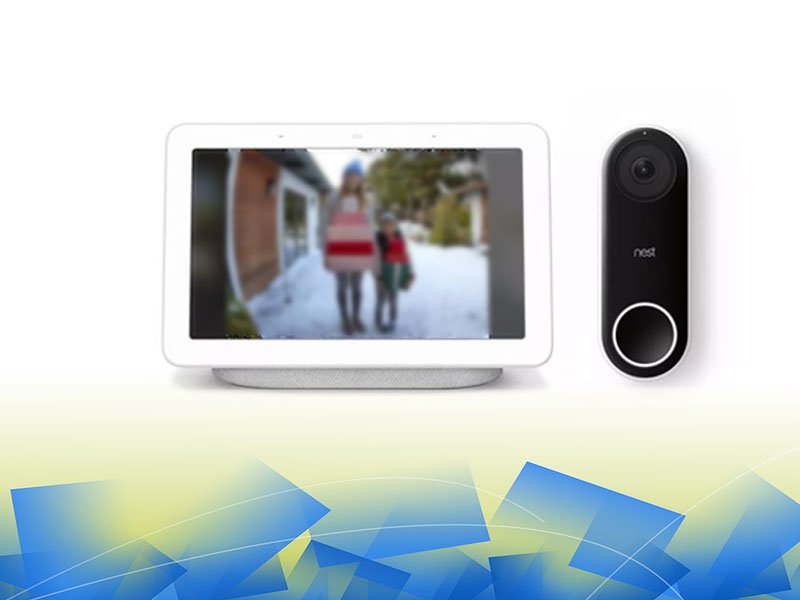
Nest Hello Video Doorbell is a wet-wired Doorbell, which features advanced features like face detection system. It is a common commodity and used by millions of people around the world due to their high profile and cardinal characteristics. Nest Hello Video Doorbell allows users to see who is at the door, so you can never miss-delivery or visitor. Some extra features that combine the beauty of its structure, it is used in Night Vision mode, delivering high-quality HD video as well as bright and sharp images. With key features like HDR Vision, 160 degrees Field of View, Night Vision mode and Streaming of 24/7 Idea, it has successfully established its reputation among the primary security Doorbell cameras used around the world.
Before we move on to the meat of the material, we need to make sure that your current bell and chime wiring can provide enough power. If they do not provide enough power, then you can upgrade your system and install it for you. You can also download the Nest app on your mobile that will help you establish your Nest Hello Video Doorbell via Step by Step Manual Instruction. The installation process of Nest Hello includes your chime and wiring on Doorbell and drilling new holes to mount hello. Now follow some steps to install your Nest Hello Video Doorbell, which you need to work on.
Step 1: At the very first you need to check the compatibility
Nest Hello is designed to replace your existing wired Doorbell, but since some Doorbell systems cannot give enough voltage to your Nest Halo. While most Doorbells can be replaced by Nest Halo, there are some Doorbells whose wiring does not conform to Nest Halo Video Doorbell. In the case of your current doorbell, you can buy a local Nest Pro that will increase the voltage of your Doorbell Power Transformer.
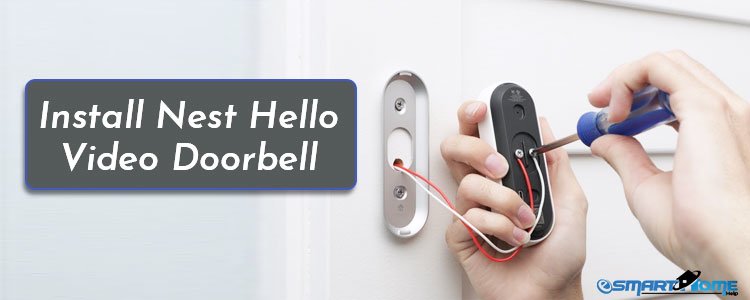
Step 2: – How to Install Nest Hello Doorbell
Things Required:
- A compatible phone or tablet that can be synced
- Username and password of your Wi-Fi network
- Internet connection with minimum speed of 2mbps to work camera
Create a nest account or sign in to your existing Nest account-
If you are new to Nest, you can download Nest app from the Play Store, if you are an Android user or you can download Nest app from Apple App Store. If you are an IOS (APPLE) user and have a new account can create. However, if you already own a Nest product, you can log in to your existing account.
Scanning QR code
If you are new to Nest – Tap Add New + on the Home screen.
If you already have a Nest product then tap the settings option on the left side of the navigation panel on your app’s display screen.
Now you will be prompted to scan the QR code which is behind the camera body.
Once the QR code is scanned, the Nest App will know that you are installing Nest Halo Video Doorbell.
Power off
Turn off the power of your home’s fuse box, if there is an additional voltage, and then your device will not be damaged.
Remove Chime Cover
Remove the cover on your doorbell. You may need a scroll bug to highlight the chime.
Play Doorbell
Once you follow the wiring’s screen instructions, now it’s time to play Doorbell.
Make sure connectors and chimes do not touch each other.
- Put the chime cover back.
- Disconnect your current bell
- Remove your existing door and change the wires.
- Mark Holes for Door Plate
- You need to mark the hole on the door plate with the drilling machine.
Installing wire plates
Install Screws. Make sure the Nest logo is down. The wall plate is not reversible.
Use a bubble level to double check that the plate is level. Horizontal screw hole at the bottom of the plate will allow you to straighten the backplate as needed.
This way your Nest Hello Doorbell been installed and you can enjoy at your home or office.